


How To Use Ulike IPL Devices
These instructional tutorials are designed to guide you on your journey to smooth, hair-free skin, helping you achieve that effortless confidence. Whether you're new to IPL hair removal or simply looking to refine your technique, these resources provide clear and practical guidance. With step-by-step demonstrations, expert tips, and easy-to-follow instructions, you’ll have everything you need to get started with your Ulike device.
If you're unsure where to begin, you can explore tutorials based on your specific device. Choose from in-depth video walkthroughs or detailed written guides that break down the process in a simple, user-friendly way. These tutorials will help you understand how to use your device effectively and maximize your results, ensuring a smooth and hassle-free experience from the very first session.
How to Use: Devices & Features


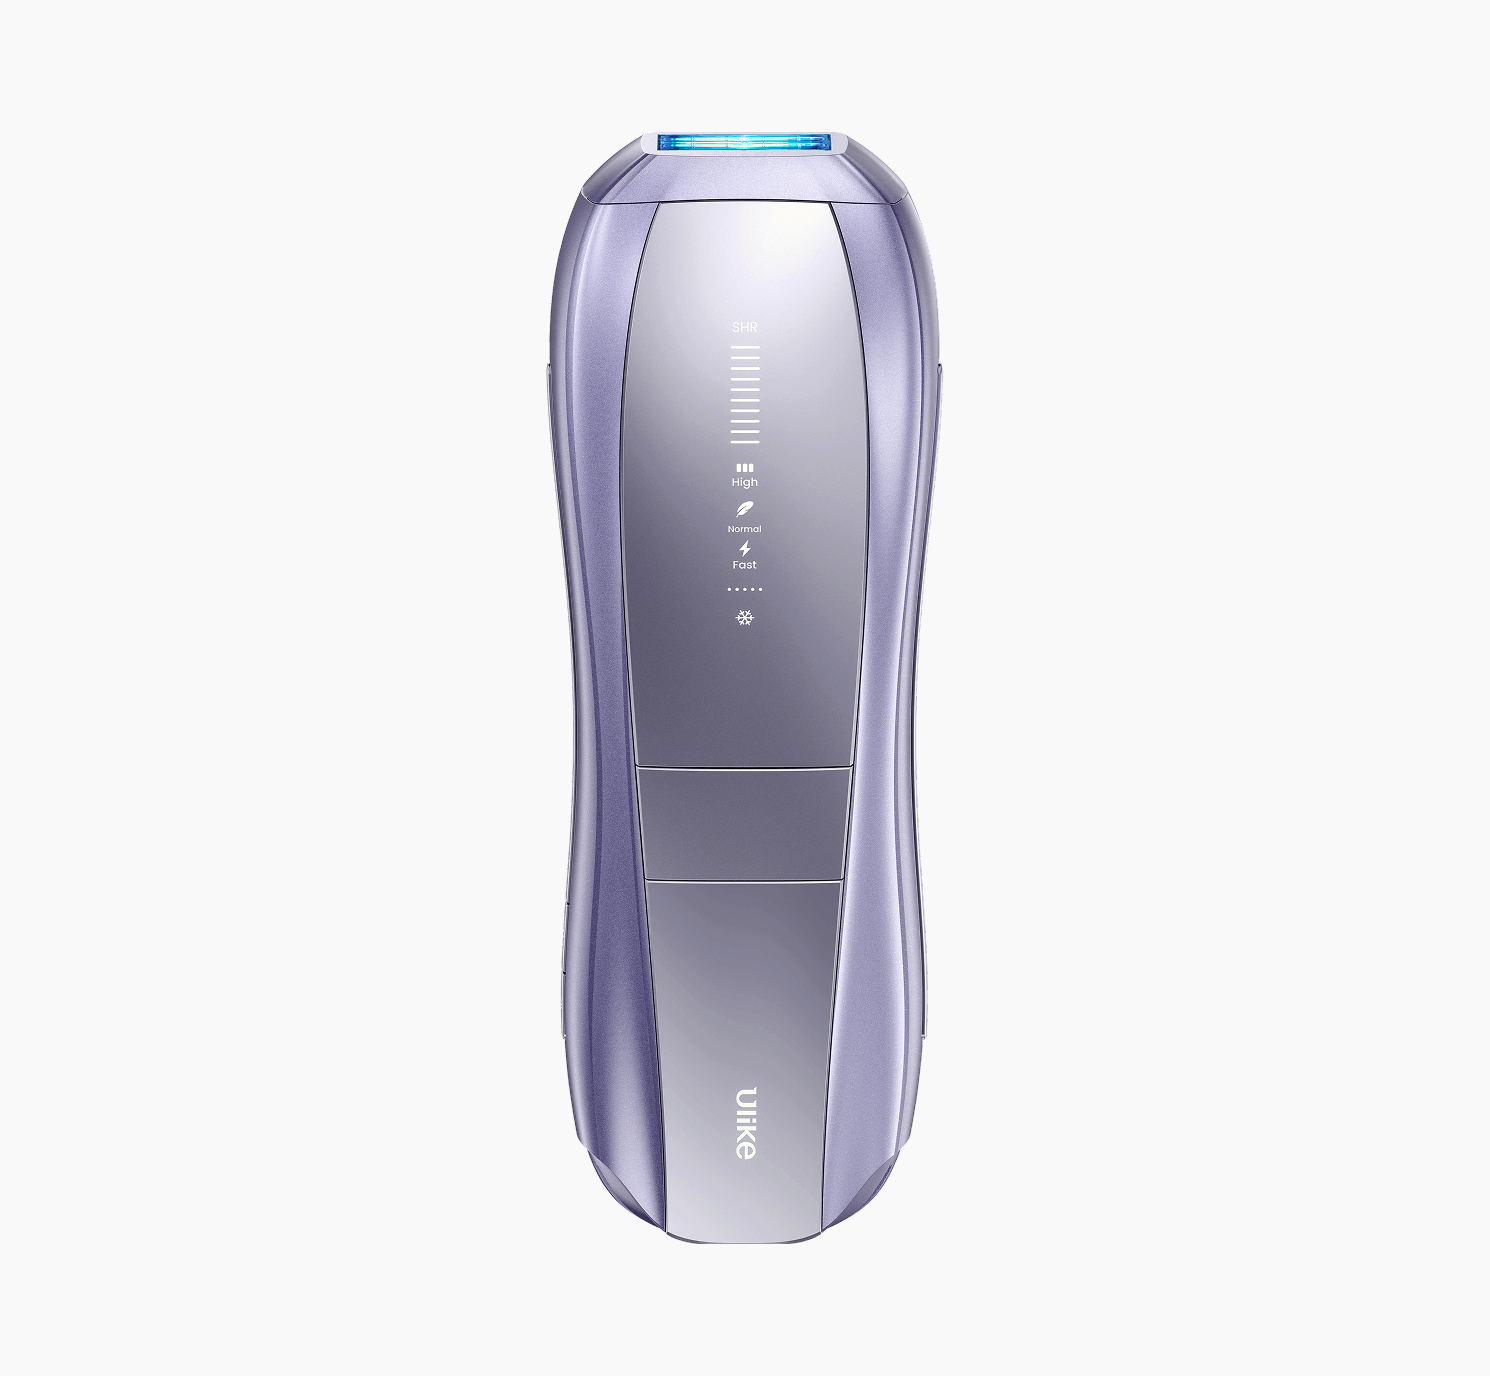
Air 10
To get the best results from your Air 10, start by shaving the area you plan to treat, and make sure your skin is clean and dry. Then, plug the power cord into the adapter, connect it to a power outlet, and attach the adapter to the device. Press and hold the power button for about two seconds until the indicators light up. Put on the saftey goggles included in the box. Next, press the large treatment button on the front of the device to switch between Fast, Normal, and High modes. You can also press the SHR button on the side to activate Super Hair Removal mode for more powerful results. Position the light window flat against your skin at a 90° angle to ensure full contact, then press the treatment button again to release a light pulse. Move the device steadily across the treatment area until fully covered. Once you’re finished, press and hold the power button again for 1–2 seconds to turn the device off. Don’t forget to gently wipe the light window with a clean cloth to keep it in top condition for your next session.With just a few simple steps, you’re on your way to salon-smooth skin- all from the comfort of home.
Go to ProductUser ManualUlike X
To begin using your Ulike X, start by shaving the area you want to treat and make sure your skin is clean and dry. Plug the power cord into the adapter, connect it to a power outlet, and then attach the adapter to the device. Press and hold the power button for about two seconds until the indicator lights turn on, signaling that the device is ready. Put on the saftey goggles to shield your eyes from the light pulses. Use the large treatment button in the center of the device to toggle between Fast, Normal, and High modes, depending on your comfort level and desired intensity. Once you've chosen your mode, place the light window flat against your skin at a 90° angle, making sure it’s in full contact. Press the treatment button again to emit a light pulse, then move the device smoothly across the area you’re treating. When you're done, press and hold the power button again for 1–2 seconds to switch the device off. Finally, clean the light window with a clean, dry cloth to keep it in perfect condition for next time.With this simple routine, achieving long-lasting, salon-quality smoothness at home is easier than ever.
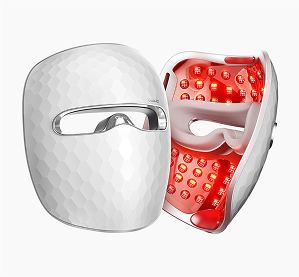
Go to ProductUser ManualReGlow Mask
Using your ReGlow Mask is a easy, simple part of your skincare ritual. Start by removing any makeup, cleansing your face thoroughly, and applying toner to prep your skin for treatment. Next, connect the mask to the rechargeable remote and adapter. Make sure the remote is fully charged-the green indicator light will let you know it’s ready.To power on the device, press and hold the Power/Mode button for 1–2 seconds. Then, cycle through the available treatment options-Glow, Firm, Rejuvenate, or Clear-by pressing the same button until you reach your desired mode. Depending on your selection, treat your skin for 5 minutes (Glow or Clear Mode) or 8 minutes (Firm or Rejuvenate Mode). To protect your skin barrier, total daily use should not exceed 26 minutes. When your session is complete, gently clean the mask with a soft damp cloth. Avoid using alcohol or harsh solvents to preserve its surface and sensors. With the ReGlow Mask, high-tech skincare meets effortless self-care-revealing your skin’s natural radiance one session at a time.
Air 3
Using your Ulike Air 3 is simple and seamless. First, shave the area you want to treat and make sure your skin is clean and dry. Then, plug the power cord into the adapter, connect it to a power outlet, and attach the adapter to the device. To turn it on, press and hold the power button for about two seconds until the indicator lights come on. Put on the saftey goggles provided to shield your eyes from the flashes of light. Use the large treatment button in the center of the device to toggle between Fast, Normal, and High modes, selecting the level that feels most comfortable for you. Next, place the light window flat against your skin at a 90° angle, ensuring full contact with the surface. Press the treatment button to release light pulses and move the device gradually across the treatment area until it’s fully covered. Once you’ve completed your session, press and hold the power button for 1–2 seconds to turn the device off. Finish by wiping the light window with a clean, dry cloth to keep it functioning at its best. With Ulike Air 3, smooth, hair-free skin is just a few easy steps away-no salon visits, no hassle.
Go to ProductUser ManualAir +
Getting started with your Ulike Air+ is quick and easy. First, shave the area you want to treat and make sure the skin is clean and dry. Then, plug the power cord into the adapter, connect it to a power outlet, and attach the adapter to the device. To power it on, press and hold the power button for about two seconds until the indicator lights turn on. Put on the provided saftey goggles to shield your eyes from the light flashes. Use the large treatment button in the center of the device to cycle through the available intensity settings until you find the one that feels best for you. Once set, place the light window flat against your skin at a 90° angle, ensuring full contact with the surface. Press the flash button to emit a light pulse, and continue moving the device to cover the entire treatment area. When you're finished, press and hold the power button again for 1–2 seconds to turn the device off. Finally, clean the light window with a clean, dry, cloth to keep your device in top condition. With the Ulike Air+, advanced hair removal at home is just a few steps away- giving you professional results without the professional price tag.
Go to Product User ManualSpecial Features Use Guide
SHR Mode

SHR mode is only availible on the Ulike Air 10 device. If you have a different device, it does not have SHR mode.
To activate SHR mode, make sure your device is powered on, and look for the button labeled "SHR" next to the power button. Press it to activate SHR mode. To turn SHR mode off, press the SHR button again.
Sapphire Ice Cooling

All Ulike devices come with a Sapphire Ice Cooling tip, to keep your skin at a cool 65 degrees during your treatments.
Sapphire Ice Cooling activates automa1tically when you power on your device. Wait about 30 seconds to 1 minute for the device to power up before begining your treatment.
Autoglide

Autoglide is inlcuded in the Ulike Air 10, Ulike X and Ulike Air 3 Devices. If you have the Air +, it does not come with Autoglide.
To activate AutoGlide, press and hold the large treatment button on the front of the device. Once activated, the device will emit light pulses automatically as you glide it over your skin.
To deactivate Autoglide, release the treatment button, and the device will cease Autoglide.
SkinSensor

The SkinSensor is only availible on the Ulike X and Ulike Air 10 devices. If you have a different device, it does not come with the skin sensor.
The SkinSensor activates automatically when you power on your device, and calibrates the intensity of light according to your skin. Wait about 30 seconds to 1 minute after powering on your device to begin your treatment.
Can't Find What You're Looking For? We Can Help!