


How to Cover Up a Bruise: 5 Expert Tips
Introduction
Need to know how to cover up a bruise fast and efficiently? Bruises often appear just before important events when you want to look and feel your best. Whether it's from an injury, medical procedure, or accident, covering up discoloured, sensitive skin takes the proper tricks. Issues include colour-matching makeup to bruise colours, preventing cakey finishes, and maintaining all-day wear.
This article uncovers pro makeup artist secrets for natural, flawless-looking results. Learn colour correction, long-lasting application, and soothing blending to hide bruises and boost your confidence.
Table of content
Understanding Bruises & Their Colours
Bruises tell their story through changing colours, each phase revealing part of the healing process. A new bruise is red when blood vessels rupture under the skin. In 1-2 days, the bruise will be blue or purple since oxygen runs out of the blood cells.
Bruise Healing Timeline
Identifying the colour of your bruise is important to choosing the right makeup products. A green bruise requires different colour corrections than a new purple one. Your bruise colour determines directly what colour corrector you will need to neutralize it properly.
Imagine your bruise as an artist's canvas. Knowing its existing colour assists you in selecting the ideal contrasting colour to neutralize it. Such an understanding is the basis of effective bruise camouflage with makeup.
To cover up a bruise on your face, knowing its colour stages helps you pick the right makeup and technique for best results.
Step 1: Prepping the Skin for Makeup Application
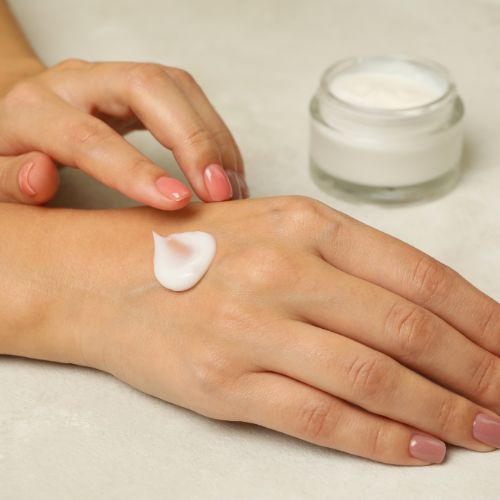
Properly prepared skin is the ideal surface for effective covering of bruises. A good primer is a protective layer between your skin and makeup, avoiding irritation on sensitive, bruised skin.
Key Benefits of Using Primer:
- Smooths the skin surface for easier makeup application
- Prolongs the wear life of concealer and foundation
- Reduces product absorption in the skin
- Reduces the makeup required for coverage
Use a silicone primer to fill in a lumpy texture and provide a perfect base for face bruises. For best results, select primers containing skin-calming ingredients such as aloe vera or chamomile, which will soothe the bruised area while offering excellent makeup adhesion.
Essential Application Tips:
- Use clean fingers to apply primer with a gentle patting action
- Let 2-3 minutes pass for the primer to dry before applying makeup
- Apply only a thin layer to prevent product build-up
- Avoid exposing primer to any open wounds, cuts, or stitches
Choose primers with calming ingredients like aloe vera or chamomile to soothe bruises and improve makeup adhesion.
Step 2: Using Colour Correctors to Neutralise Bruise Colours
Colour correctors are magic wands that cover up a bruise. The trick is knowing the colour wheel and selecting the appropriate shade to cancel out your bruise's colour.
Selecting the Right Colour Corrector
Application Tips for a Natural Finish:
- Apply colour corrector sparingly with a small concealer brush
- Pat gently in thin layers rather than rubbing
- Focus the product directly on the bruised area
- Blend edges softly into the surrounding skin
- Allow each layer to set for 30 seconds before adding more
Pro Tip: Blend your colour corrector with a small amount of moisturiser for smoother blending on sensitive, bruised skin. This avoids the product appearing heavy or settling into skin texture.
Test the corrector on your hand first; the bruise colour should fade without the corrector being visible.
Step 3: Applying Concealer and Foundation for Seamless Coverage
After you have changed your colour, select a concealer that is one shade lighter than your colour. This lightening effect camouflages any remaining discolouration and leaves a fresh base.
Pro Application Tips:
- Use concealer by applying light patting strokes on your ring finger
- Use in thin layers rather than one thick coat
- Build coverage gradually to attain a natural completion
- Blend out from the centre of the bruise
A setting spray-dampened beauty sponge leaves an airbrushed finish when smoothening concealer lines. This stops hard lines and blends in nicely with the surrounding skin.
To finish, use a foundation that matches your skin tone to perfection. Opt for a medium-coverage, natural-finish formula—avoid matte finishes that highlight skin texture.
To achieve this, follow these foundation application techniques:
- Begin with a thin amount of foundation
- Apply stippling strokes using a thick brush
- Emphasize uniting the covered area with the surrounding skin. Keep the layer thin to preserve skin-like texture
Step 4: Setting the Makeup to Ensure Longevity
Setting your foundation and concealer is a must for all-day bruise coverage. A high-quality translucent setting powder locks in makeup, preventing smudging, movement, or transfer all day.
How to Apply Setting Powder for Flawless Bruise Coverage
For extremely sensitive bruised spots, use the baking method:
- Use a generous amount of setting powder
- Let it stand for 5-10 minutes
- Brush off excess powder lightly with a clean brush
This technique helps set your cover in position for extended wear while still sporting a natural-coloured finish. Make sure to carry your setting powder for touch-ups during the day if necessary.
Step 5: Additional Tips to Disguise Bruises Effectively

Accessorising can be an effective solution if makeup is not enough to cover up a bruise. These are some tips about how to utilise accessories to conceal bruises best:
- Neck Bruises: Tastefully drape a silk scarf over your neck to cover any bruising.
- Facial Bruises: Use wide-brimmed hats to cover facial marks from sight.
- Arm Bruises: Wear long sleeves in dark colours such as leather, which conceal bruises and provide a chic look.
- Leg Bruises: Opt for dark-coloured opaque tights to hide bruises on your legs.
Creating Visual Distractions
Another technique to distract attention from bruises is to create visual distractions. Here are some methods you can attempt:
- Place a bright red lipstick on your lips to attract attention.
- Do dramatic smokey eyes to divert attention upwards.
- Wear statement jewellery strategically positioned in non-bruised areas.
- Style your hair so as to naturally hide any facial bruising.
Advanced Makeup Technique
Mixing a bit of orange-red lipstick with concealer can create a custom corrector that effectively cancels out stubborn bruises. This hack performs wonderfully for deeper skin tone or especially very deep bruising. Use a 2:1 concealer and lipstick, then gauge whether you should adjust
Quick Cover-up Tips
Besides the above techniques, the following are some fast cover-up tricks you can employ:
- Layer thin tights under fishnet stockings to cover up leg bruises.
- Employ temporary tattoo covers for bigger areas.
- Use waterproof formulas if you go to the pool or beach.
- Carry a concealer pen in your purse for daily touch-ups.

Supporting Bruise Healing While Covering Up
Your makeup routine can be combined with natural treatments to accelerate bruise healing. Place an ice pack covered in a thin cloth on the site of the bruising for 10-15 minutes each hour for the first 24-48 hours. This reduces the swelling and visibility of discolouration. After 48 hours, use warm compresses to help the blood flow and promote healing.
Natural Remedies for Bruise Recovery:
- Use arnica cream or gel 2-3 times a day between makeup applications
- Gently massage the area to energize the blood flow
- Rest the bruised area when possible
Supplement Support:
- Vitamin C - reinforces blood vessels and shortens healing time
- Vitamin K - assists in clotting blood properly and making bruising colours disappear
- Drink at least 8-10 glasses of water each day
As a precaution and for the best results, include these healing methods in your daily treatment while applying makeup. Many concealers now contain vitamin K and arnica to heal and hide bruises.
When Not to Cover Bruises with Makeup
Safety is paramount when dealing with wounds and bruises. Never apply makeup on open cuts, fresh wounds, or stitches. Such sensitive tissue requires good air circulation to heal. At the same time, makeup products could attract bacteria that can result in infections or slowed healing.
Look out for these warning signals that tell you to forgo the makeup and get medical assistance:
- Swelling or inflammation
- Bruises that occur with no apparent cause
- Bruising that develops or changes quickly
- Ongoing pain or tenderness
- Frequent occurrence of multiple bruises
For surgical bruising, consult your healthcare provider about when it's safe to apply makeup. Different procedures have specific healing timelines, and your doctor can provide personalised guidance based on your situation.
Conclusion
To effectively cover up a bruise involves both patience and technique. Start with colour-correcting concealer, then use lightweight foundation for smooth, even coverage. Be sure to always prioritize your skin's healing process over cosmetic remedies.
Home treatments such as arnica cream can help between applications. In case of ongoing bruising or any other issues, your GP should offer appropriate medical guidance. Using products from Superdrug or Boots and gentle techniques gives natural coverage while keeping your skin healthy.
Feel confident once more? With these tips, you can discreetly and effectively cover up bruising.
Related readings


Why Does Hair Grow Back So Fast?
Ulike Air 10 Results: My 12-Week IPL Hair Removal Experience

Hair Removal for Male Swimmers and Triathletes: The Chlorine Problem Nobody Talks About
Explore Beauty
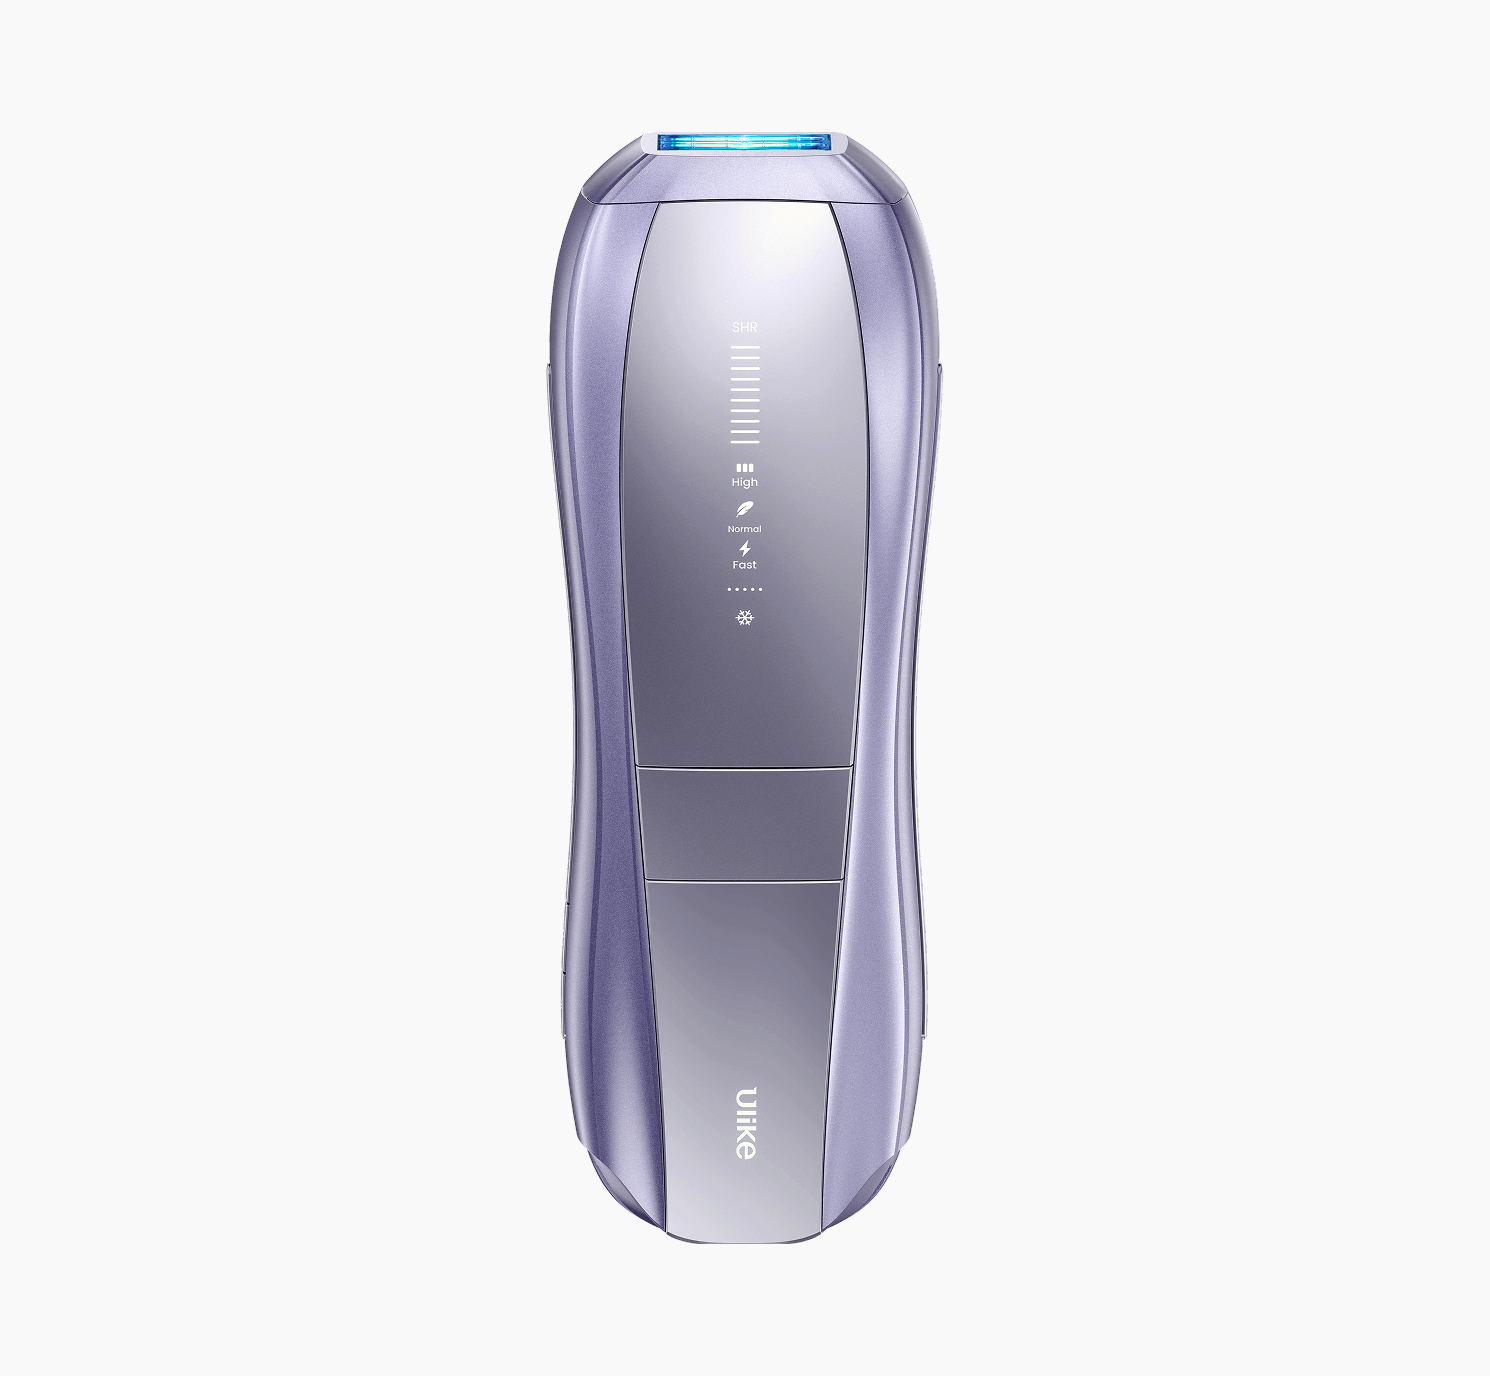
Ulike Air 10
2 weeks to silky smooth skin.
96% Hair Density Reduction in 2 Weeks
Ulike Air 3
3 weeks to silky smooth skin.
93% Hair Density Reduction in 4 Weeks

Ulike X
3 weeks to silky smooth skin.
94% hair reduction in just 2 weeks*
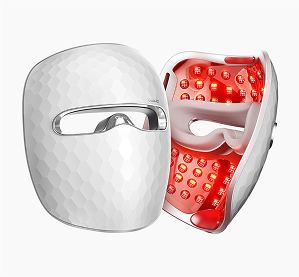
Ulike Reglow
Clearer skin in 2 weeks: Fewer breakouts
Smoother skin in 4 weeks: Fewer lines, firmer feel